This morning we started off by uncoiling the 50m long fibre bundle which had been wound around underneath the the tank. Each loop of course required the free section, the protected end & the fibre break-out box to be passed from one side of the tank to the other, all the while arranging the uncoiled length in a figure-of-eight.

Then we wanted to get the small optical bench outside the tank organised, but that meant first sorting out the floor in that part of the enclosure. Given how messy the styrofoam panels are & how tricky they are to install & remove, David fired up his wicked styrofoam cutting tool & set about improving the situation by removing all the sharp edges.

A later addition to the process was the use of a heat-gun, which slightly melts the styrofoam to better seal the sides. This seems to be a good solution, but doing this to all the floor panels will be quite a job!

Here's the optical bench with the fibre strain-relief box (top right) & the double scrambler unit (covered with yellow plastic) for the High Stability (HS) mode.

Our first heart-stopper for the day was when the double scrambler system for the HS mode was being set up & the bare fibres were found to have worked themselves loose in transit. This could've been quite nasty as the fibres are extremely vulnerable at this position, but fortunately Jürgen spotted & solved the problem before anything bad happened.

The trolley that supports the camera dewars & holds the CCD electronics had to be attached to the tank before we could mount the dewars. Where in the world is David at a time like this?! One can see why safety shoes are essential when working with heavy things that can fall on top of you...

& where in the world is Eddy?! Ah, ok - still hiding in a quiet corner in the electronics room next door to the tank.

Beavering away in LabVIEW!

& where in the world is Jürgen?!

Him & the vacuum cleaner had made their way up onto the roof of the HRS enclosure, just trying to get away from it all for a little while...

While Johan worked on the glycol plumbing for the airconditioner.

Then it was time to unpack the camera dewars & get them bolted to the camera optics.

The ever-smiling Luke introduces us to the red camera...

The outer cover on the red camera's optics was removed to reveal another gorgeous blue lens :)
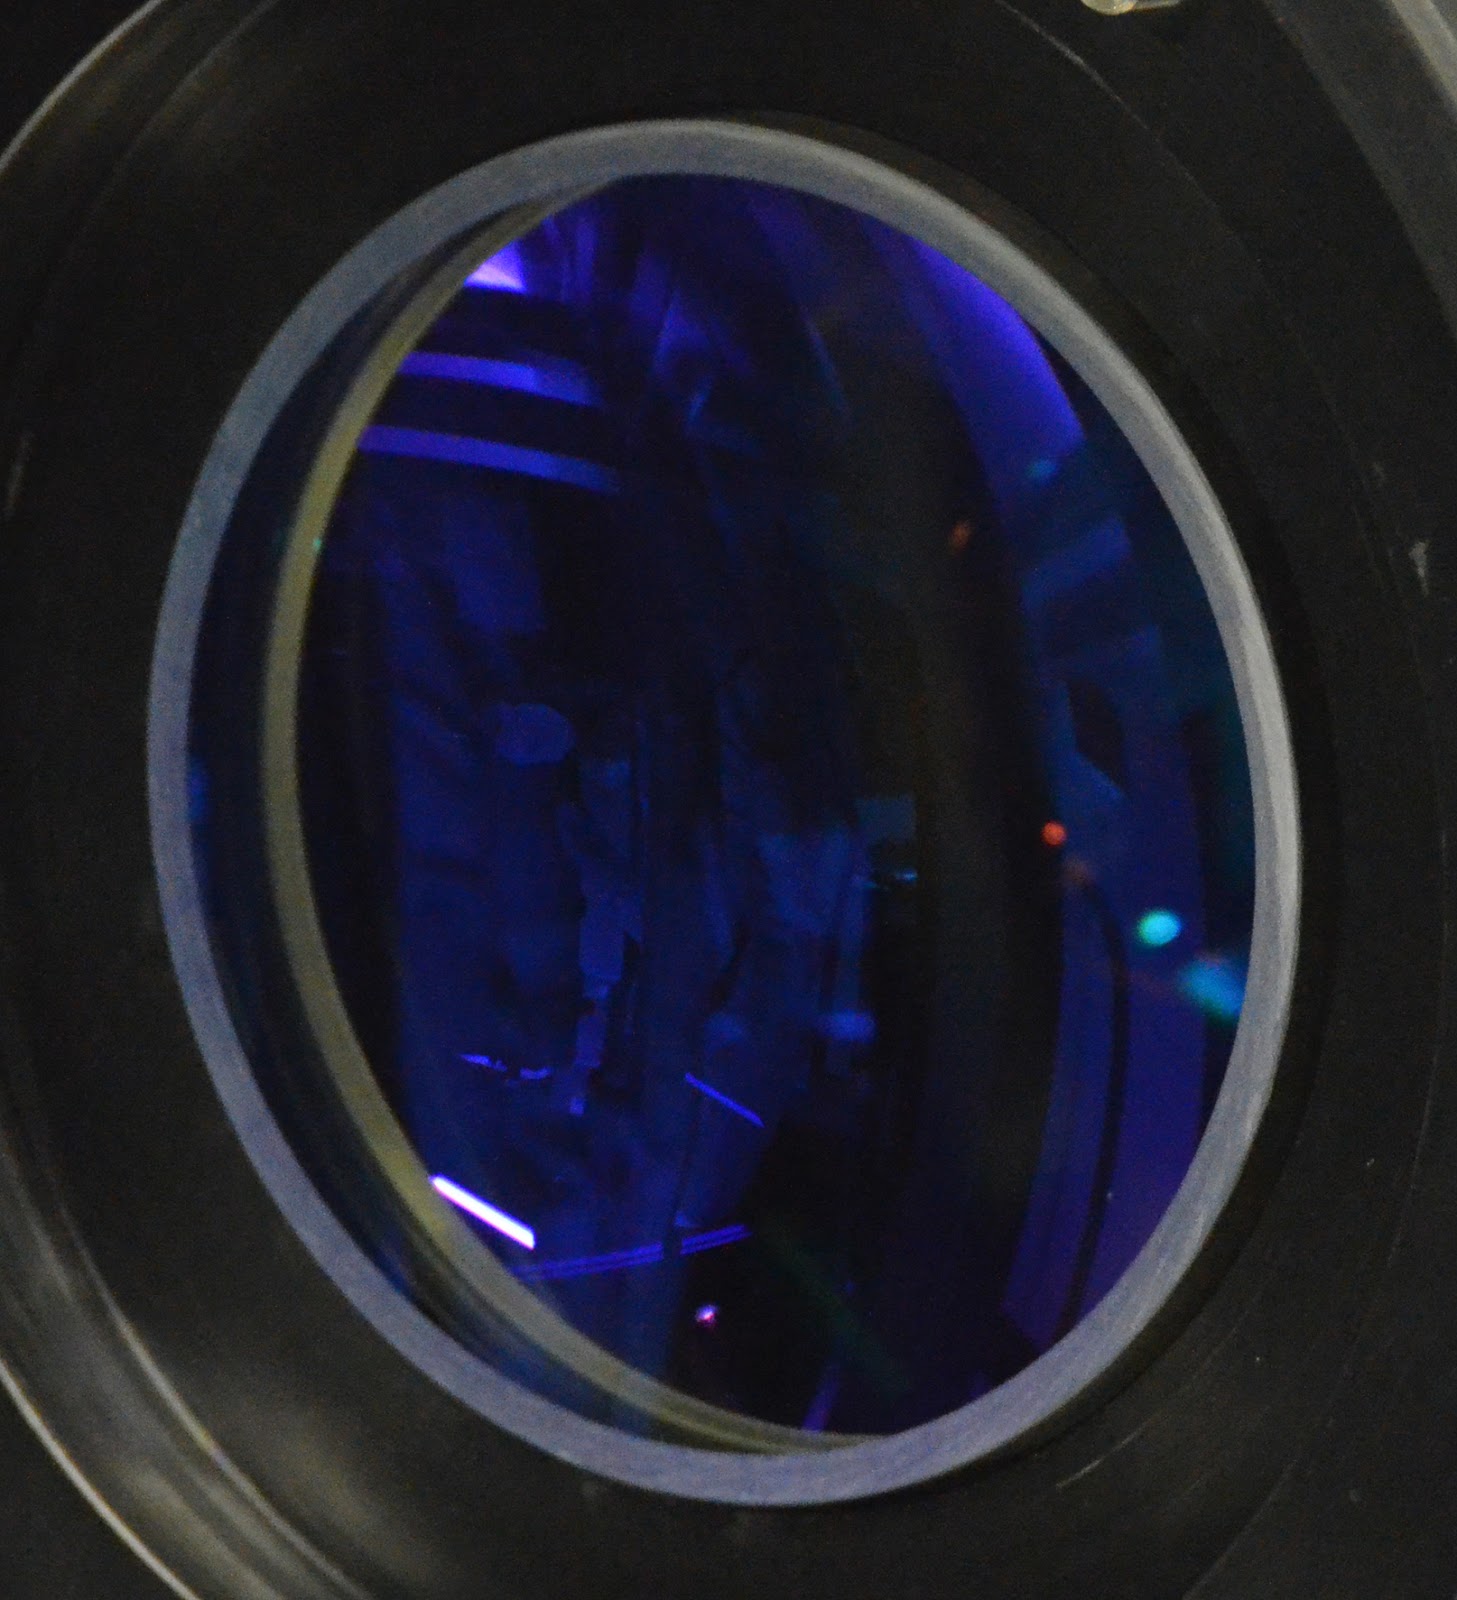
Swoooon!!

Then the cover was taken off the dewar, exposing the CCD window.

This led to heart-attack #2 for the day... Signs of condensation having occurred (& dried) on the outer surface of the CCD window.

This looked horribly reminiscent of SALTICAM's condensation-induced coating damage that occurred earlier in the year. But unlike SALTICAM's coatings, these ones are supposed to be resistant to water & so we hoped to be able to clean the spots.

Cleaning attempts with alcohol & acetone proved unsuccessful, but to our huge relief, a test-wipe with de-ionised water down the one edge did the trick!

The whole lens was then cleaned with DI water & rendered Pristine! Wheeeeeew :)

Although we're familiar with the effect by now, it's still really neat to see all the blue light being bounced out of the red camera!

The red camera's ready to go on!

Being guided into position against the camera optics that were attached to the tank on Sunday.

Sorted!

Now for the blue camera...

Happily, no signs of condensation on this one - just red/pink light being reflected by the coating on this window.

The blue CCD is only a 2k x 4k chip, compared to the 4k x 4k red chip.

With the cover off the blue camera's optics, the photographer went into overdrive yet again... These lenses are Endlessly amazing!

Different colour reflections from each internal surface!

Wow... :)

Here's the blue dewar being bolted on.

The detachable handles make this process much easier!

The two detectors are now in place & will soon get connected to their respective Cryotigers & electronics boxes.

Eben also sorted out a bracket for us to mount the fibre bundle to the wall & to guide it up to the hole in the roof.

Then the fibre could be fed up through the roof & secured to the wall. The fibre will only get routed up to the payload at a later stage. For now it will remain coiled up in the spectrometer room with the end available for testing of the Fibre Instrument Feed (FIF) that's due to come up later in the week.

The lid for the hole in the roof of the HRS enclosure needed a hole cut in it to allow the fibre through.

Then it could be put in place - affording Jürgen another chance to spend some time in his favourite hiding place. We decided to store the fibre coil up there to keep it safe & out of the way.

The to-do list's looking good & we're mostly keeping to schedule :)

After a busy day we rewarded ourselves with 400g steaks (& a pizza for Eddy) at Jupiter in town.

Another brilliant post and superb pictures.
ReplyDeletePURE OPTICAL PORN!!!!!
We should start a support group for people like us... ;)
ReplyDeleteWow, Lisa... you guys are tremendous engineers I must say! :) By the way, you have shared something very useful here for me. Thanks for the pictures also.
ReplyDeleteBest Regards,
Arnold Brame
Health And Safety Consultant Peterborough